Showing posts with label blue. Show all posts

Saturday, August 4, 2012

Marbling without water

Hey everyone !!

I tried doing water marbling for a change but it didnt come out so well... so i decided to do it my way

You dont need water, tapes or any patience, just get a couple of colours of nail polishes, a toothpick and your ready !!


Procedure :

Step 1  :  Apply a base coat to prevent your nails from staining and protect them.

Step 2  : Take 2 or 3 of your favourite colour, they can either be different shades of the same colour like I've done here, or you can chose different colours.

Step 3  : Place 1 or blobs of the different colours on your nail, work on one nail at a time for this nail art.

Step 4  : Quickly using the toothpick, swirl the colour together, make sure you dont mix them too much, you want the individual colours to show through.

                                                              Source: Uploaded by user via M Abi on Pinterest

Step 5  : Since we've used a thick layer of nail polish, let it dry completely before you proceed. You can stop with this and add a top coat, or you can follow the additional steps.
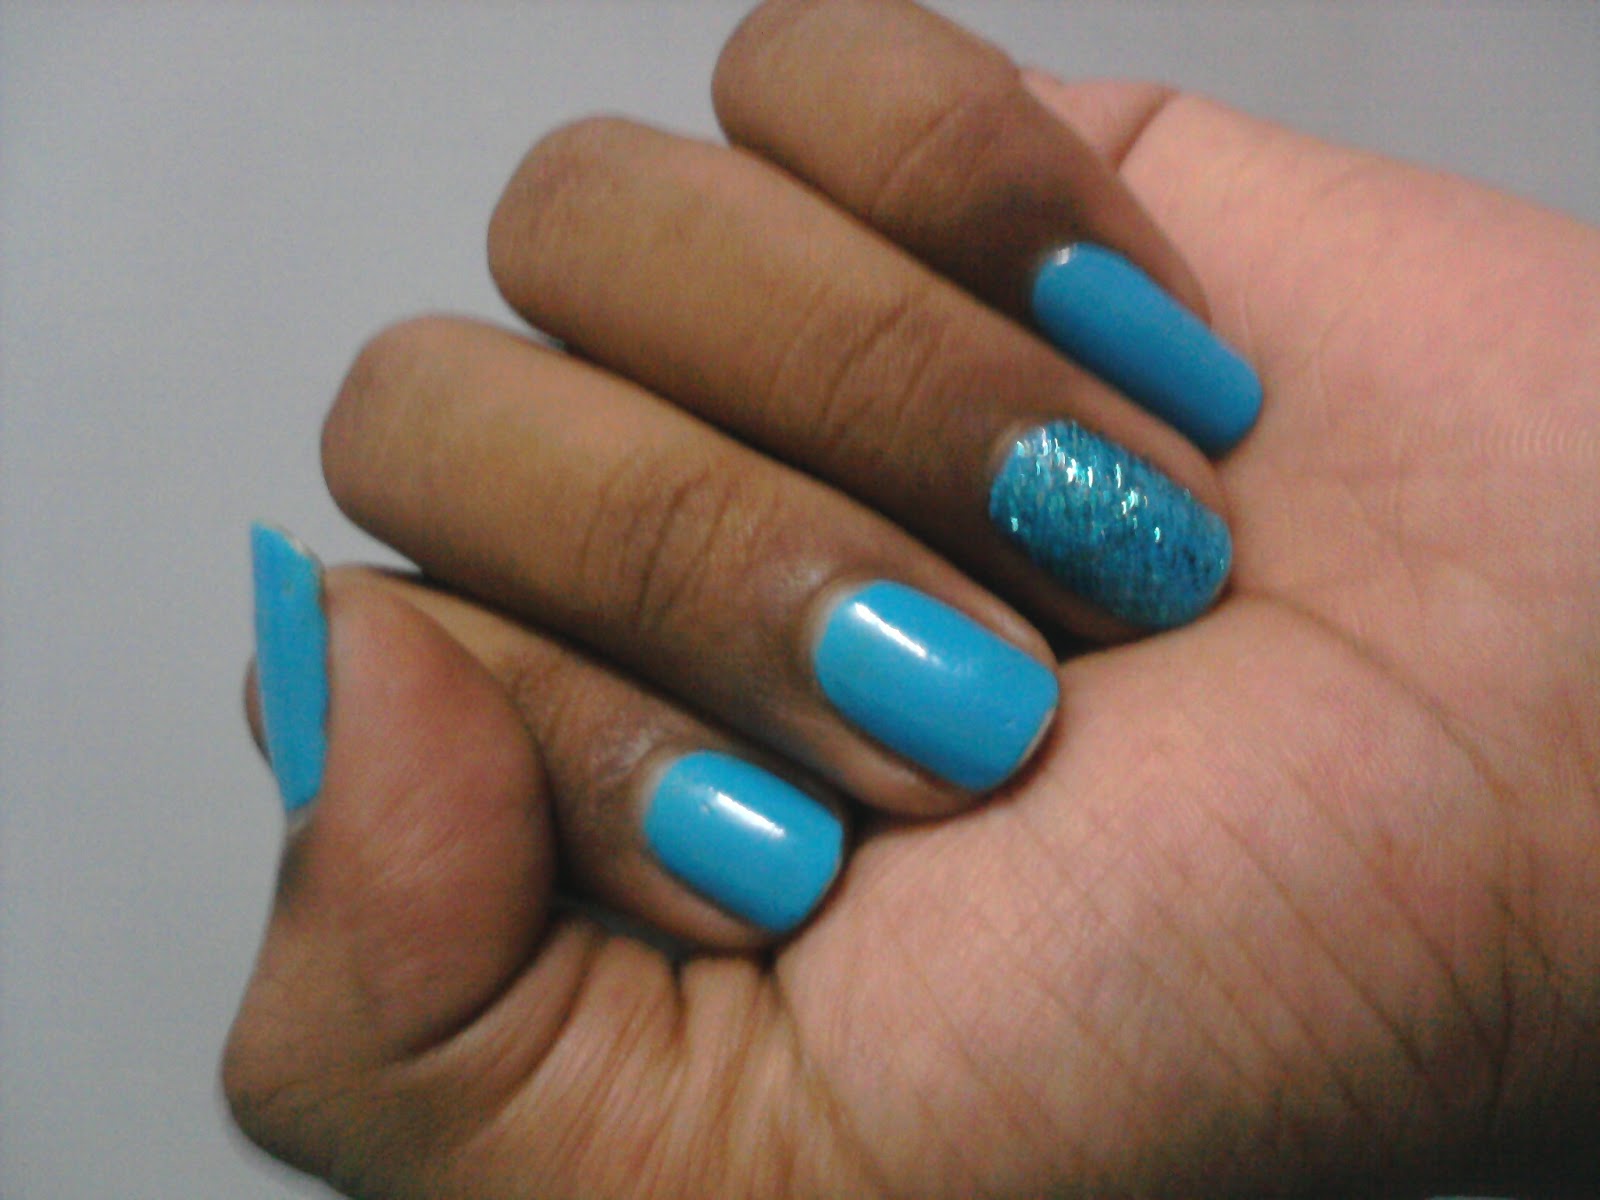
Step 6  : I've added a layer of silver glitter polish , and placed a few stars to glam it up , but this is optional. You can add whatever you want, without overdoing it thereby loosing the marbling effect underneath.

Step 7  : Finish off with a top coat and your design's complete!! :)


                                           Source:
Uploaded by user via M Abi on Pinterest

Tuesday, June 19, 2012

Converse Nail Art - inspired by cutepolish


This is quite an old design but still looks cool when worn :)

I was inspired to do this design after watching cutepolish's video with a little modification, I've attached the link at the end of this post :)


PROCEDURE :

Step 1  : Apply a base coat to prevent your nails from staining and to protect them.

Step 2   : Take a piece of sellotape and stick it on the back of your hands for a few times to reduce the stickiness, and then apply it across the tip of your nail.

Step 3  : Now apply your desired colour for your converse on the whole of your nail

Step 4  : After the polish has dried, gently remove the sellotape.

Step 5  : Paint the remaining part of your nail white by painting horizontally across your nails.

Step 6  : Now take some silver nail polish and a using a dotting tool, draw two rows of dots along the length to create the holes.

Step 7  : Now repeat the same with a smaller dotting tool and black nail polish over the silver dots to give the holes some depth.

Step 8 : Using white nail polish, draw criss cross stripes to form the lace. (cutepolish would have done a continuous line, but I just felt this looked better, you can do whatever you like)

Step 9  : take some black nail polish and a thin striper brush and draw dotted lines along the curve of your tip to create the stiches.

Step 10  : Finally finish off with a top coat :)

Step 11  : As can be seen in the cutepolish video,  i have applied a french tip on the remaing nails with a thin stripe in the matching colour underneath it.


here's the link to cutepolishes video :)


Friday, June 15, 2012

ANGRY BIRDS NAIL ART

This is one of my most favourite nail art designs i've ever done!!


Typing a tutorial for this design is difficult... so I'll just be uploading the pics :)


Hope you like it !!


Here are the pictures I used as a guide :


Sunday, June 3, 2012

Deep Blue and Green Gradient nail art with konad


  This beautiful nail art can be done by can be easily done by following these simple steps :

Step 1:  Apply a base coat to prevent your nails from staining

Step 2:  Apply 2 coats of a royal blue shade

Step 3: When the blue is almost dry, dab some green onto a sponge and dab on the top half of your nails to achieve a gradient effect.


Step 4:  Apply a clear coat to blend the two colours together for a smoother gradient.

Step 5: Next, with konad silver special polish and plates m21(thumb and middle finger), m9 (ring finger) and m2(pinky) stamp the reqiured designs or the respective fingers.


Step 6: Finish off with a top coat to seal the design :)


Ciate Cavier Inspired


  This is a dupe for the original ciate cavier nail art kit recently launched by sephora.

It can be easily done with a fraction of its cost :) And for people who dont fel comfortable with beads on your nails, here's an alternaive!!


Step 1 : Apply a base coat to protect your nails and prevent them from staining.

Step 2: Apply 2 coats your favourite colour nail polish on all your nails and one coat on the nail you want to design on.

Step 3  : Now apply the second coat on the nail you desire and pour some micro beads on it.

Step 4  : Wait for 5 minutes, then gently press on the beads to make them stick more firmly onto the polish.

Step 5  : After all the nails are completely dry, apply a top coat to protect them. On the nail with the beads, only apply top coat to the tips to seal the beads and your done!!


ALTERNATIVE :

      Now for those of you who like me feel uncomfortable with beads on your nails, on step 3, instead of applying beads, just apply tha same coloured glitter!! It's simple yet unique and looks really pretty :)


Enjoy!!


Saturday, June 2, 2012

Blue nail polish with nail stickers


Hey all!!

 Wanna do a nail art without actually doing the nail art ;) ???

 Wats more simpler yet cooler than nail stickers (decals)?!

It's so simple that you wont even need the procedures... but I'm typing them out for those who haven't experimented with them yet :)


PROCEDURE :

Step 1  : Apply a base coat to protect your nails and to prevent them from staining.

Step 2  : Apply your required base colour depending on your design.

Step 3  : let the base dry and then gently peel your sticker for the required nail (match up the size before peeling) and slowly press it on your nails starting from one end to the other, so as to prevent air bubbles.

Step 4  : Apply a top coat to seal the sticker :D And dat's it !!