Hey everyone!! Ever wanted to do a quick and easy design???
Can be done on short or long nails!!
Then this is the one for you!! Simple, easy and quick to do!! Here's how :D

Procedure :
Step 1 : Apply a base coat to protect your nails and prevent them from staining.
Step 2 : Apply red to half your nail, and black to the other half and let it dry for a few minutes. We do this step because when we drag the nail polish polish, we don't want our nail to show through.
Step 3 : Now , apply a slightly thicker coat of red and black to the respective halves of your nails and before it dries, quickly, using a needle, drag the nail polish from the red to the black horizantally to form stripes.

Step 4 : Repeat the same process to all the nails, and let it dry. This will take some time since we have applied a thick coat of nail polish.
Step 5 : Finally apply a layer of top coat to seal your design and your done !! :)
Alternative : If you have long nails, you can try doing it only on your tips for a unique French tip , or you could try dragging from both sides , it's all up to you!!
Can be done on short or long nails!!
Then this is the one for you!! Simple, easy and quick to do!! Here's how :D
Procedure :
Step 1 : Apply a base coat to protect your nails and prevent them from staining.
Step 2 : Apply red to half your nail, and black to the other half and let it dry for a few minutes. We do this step because when we drag the nail polish polish, we don't want our nail to show through.
Step 3 : Now , apply a slightly thicker coat of red and black to the respective halves of your nails and before it dries, quickly, using a needle, drag the nail polish from the red to the black horizantally to form stripes.
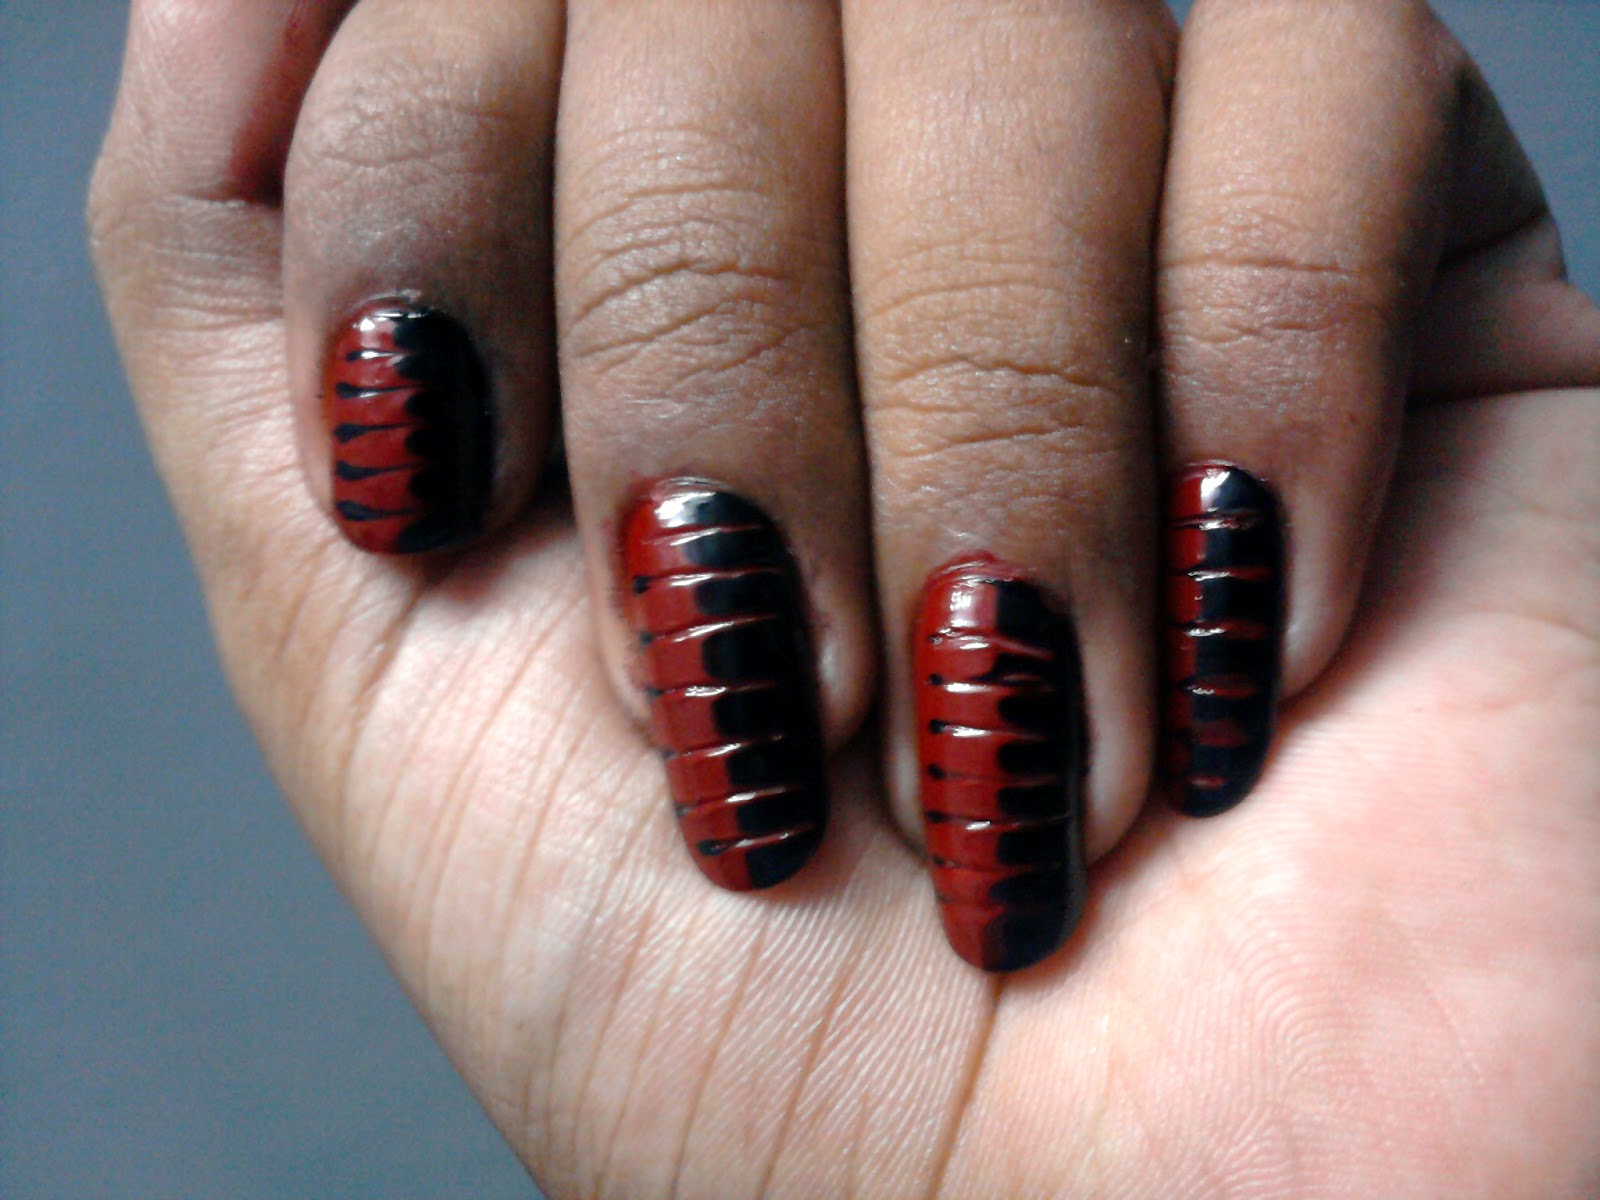
Step 4 : Repeat the same process to all the nails, and let it dry. This will take some time since we have applied a thick coat of nail polish.
Step 5 : Finally apply a layer of top coat to seal your design and your done !! :)
Alternative : If you have long nails, you can try doing it only on your tips for a unique French tip , or you could try dragging from both sides , it's all up to you!!


