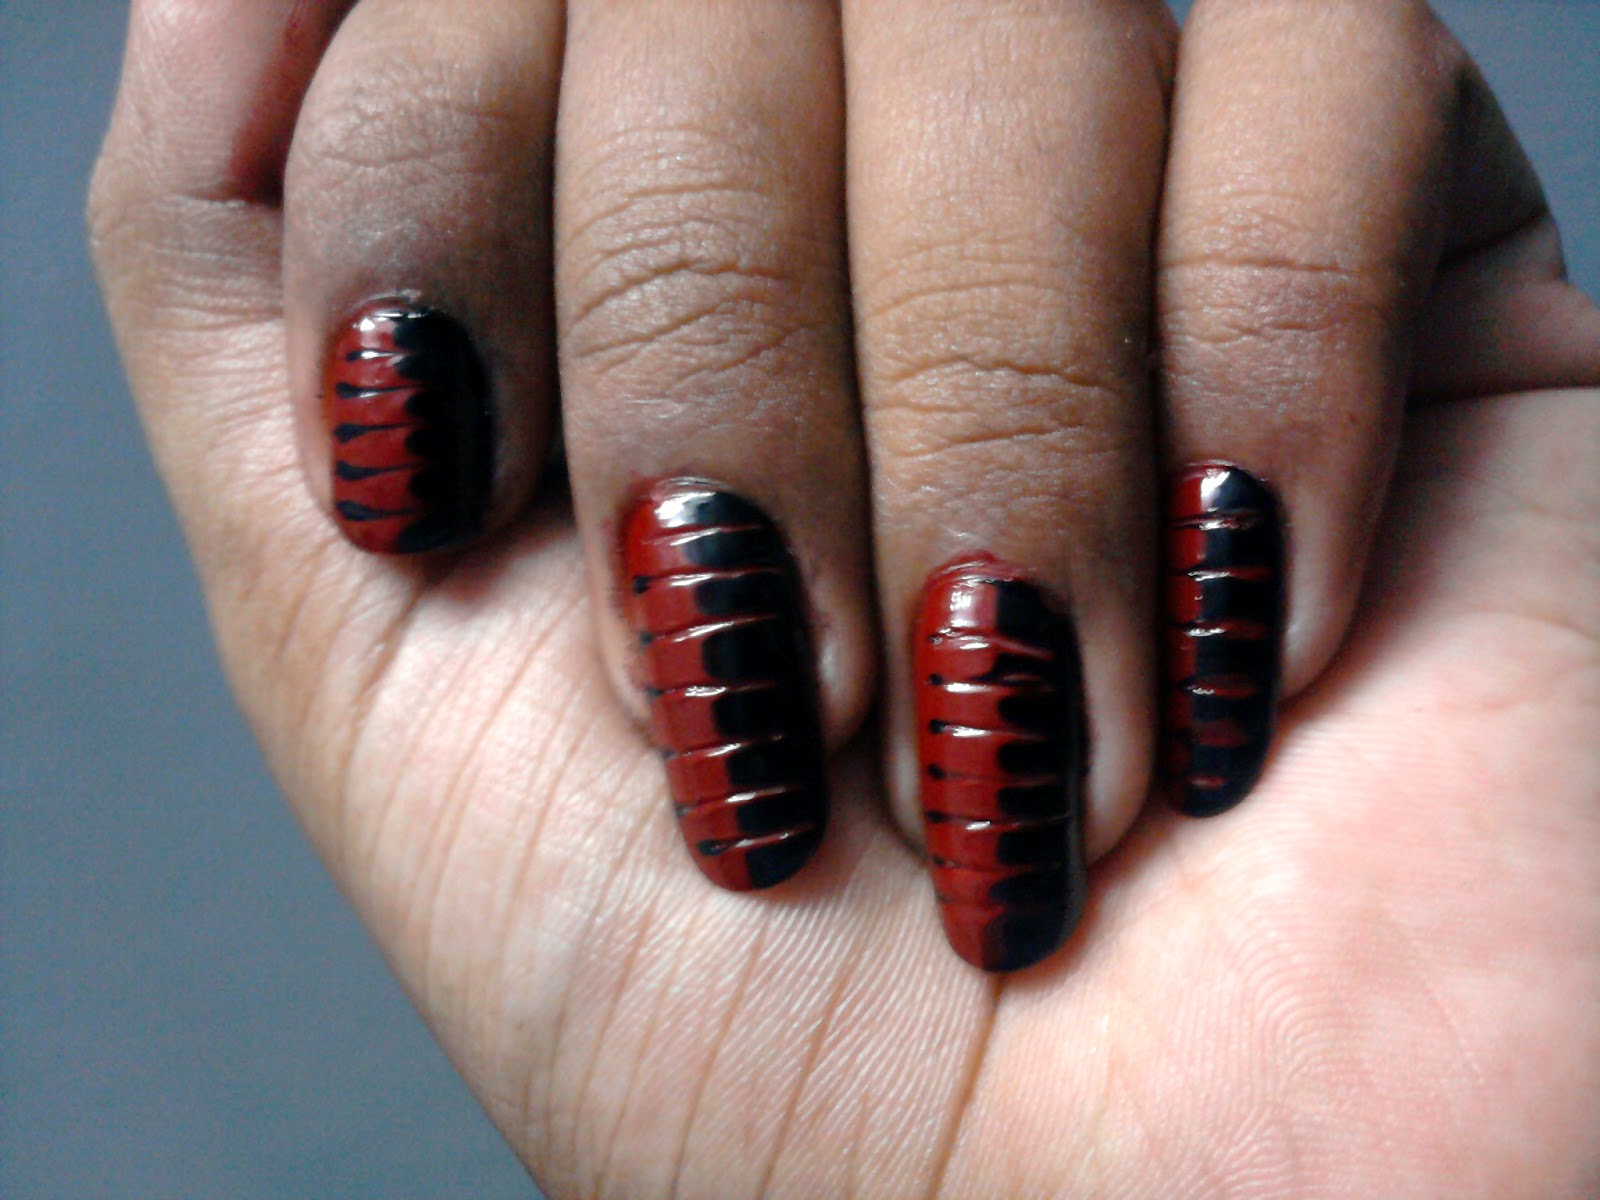
To all my Tamil friends out there, are you an Ajith (Thala ) fan??? If you are, then this is the design for you!!

I don't think i can actually type the steps on how to do it, but you can try your own creations based on this nail art :)
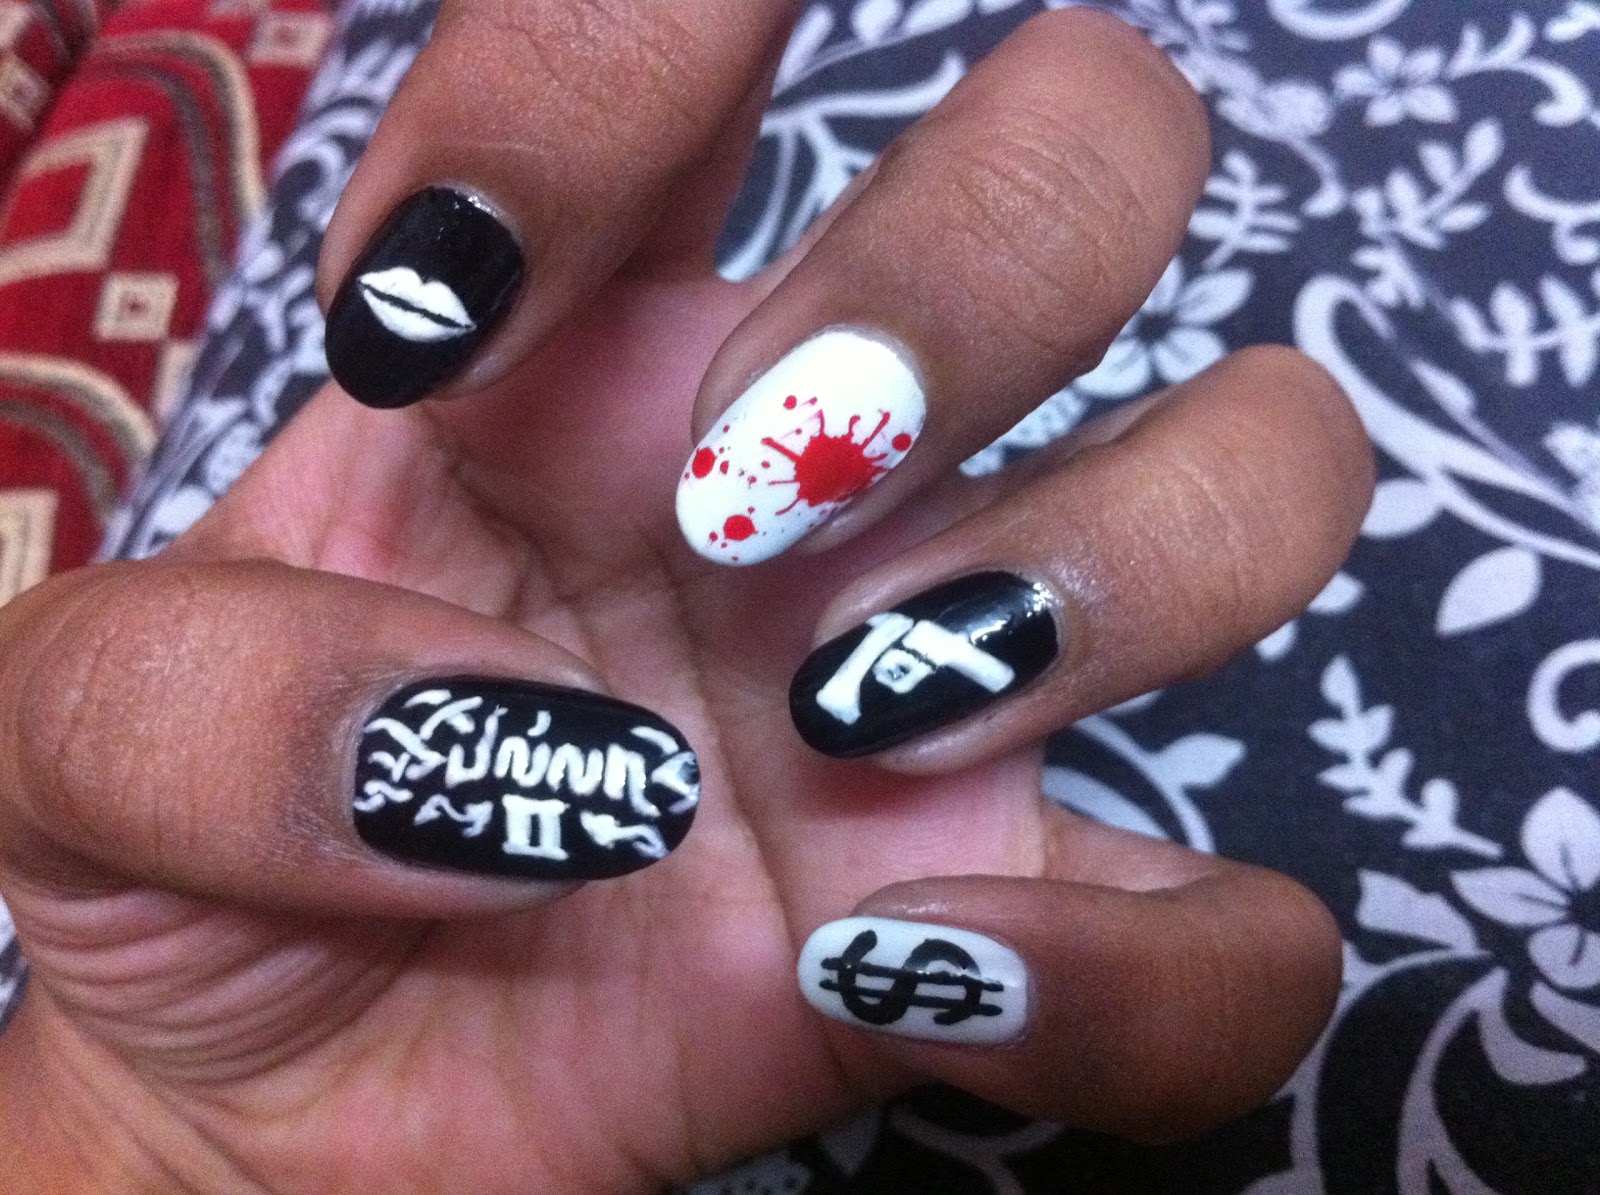
I applied alternating black and white base for the nails, and did all the designs (except the middle finger) using acrylic paint.

I did the main Billa logo on my thumb. My thumb nail recently broke :( so I wasn't able to complete the design on the right side. I suggest you apply a clear coat before painting using white acrylic on black nails, coz over time the white mixes with the black and makes it a sort of grey.

For the fore finger, i painted on the lips using white acrylic. You can also use konad stamping , but i just felt this looked better.
The middle finger was done using konad stamping kit with Red on a white base to form a sort of splattered blood effect.
The gun design was inspired by the gun at the end of 007 (James bond style ;) )
And finally, what's a don without some money?? I just painted it on a white base using black acrylic.
Any doubts, feel free to comment below :)
Hope you liked the design and even more the movie .. Coz i thought it was fantastic!! :D


En nanbana iruka thaguthi venam, aana ethiriya iruka kandipa thaguthi venum !!
I don't think i can actually type the steps on how to do it, but you can try your own creations based on this nail art :)
I applied alternating black and white base for the nails, and did all the designs (except the middle finger) using acrylic paint.
I did the main Billa logo on my thumb. My thumb nail recently broke :( so I wasn't able to complete the design on the right side. I suggest you apply a clear coat before painting using white acrylic on black nails, coz over time the white mixes with the black and makes it a sort of grey.

For the fore finger, i painted on the lips using white acrylic. You can also use konad stamping , but i just felt this looked better.
The middle finger was done using konad stamping kit with Red on a white base to form a sort of splattered blood effect.
The gun design was inspired by the gun at the end of 007 (James bond style ;) )
And finally, what's a don without some money?? I just painted it on a white base using black acrylic.
Any doubts, feel free to comment below :)
Hope you liked the design and even more the movie .. Coz i thought it was fantastic!! :D


En nanbana iruka thaguthi venam, aana ethiriya iruka kandipa thaguthi venum !!