Hey people !!
This is a simple design for all those beginners out there and also for people who lack patience ;)
It can me done on long nails and also modified for short nails!!
You don't even need to know any techniques for this cute design!!

PROCEDURE :
Step 1 : Paint a base coat to protect your nails and also to prevent them from staining.
Step 2 : Next apply a base colour of your choice. I suggest apply 2 thin layers instead of one thick gooey layer.
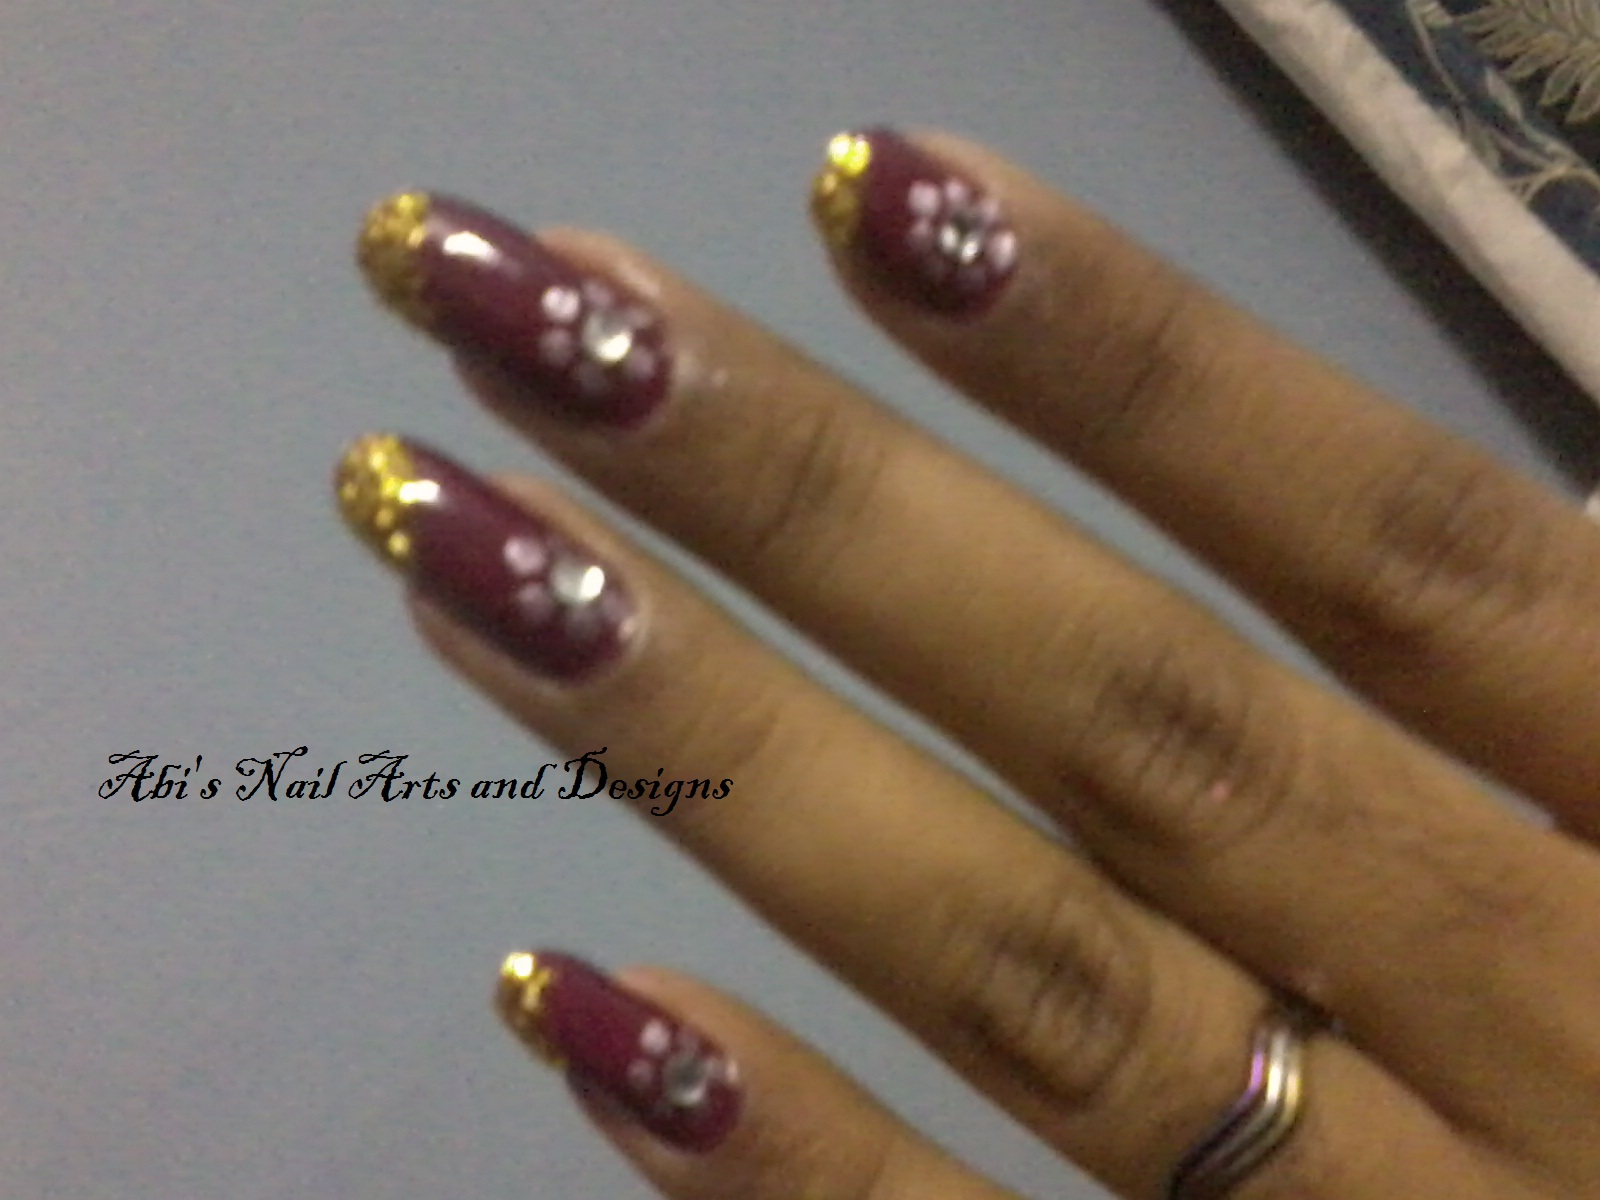
Step 3 : Using a dotting tool, and the colour of your choice for the flower, dot 5 or 6 dots in a circle, at the bottom corner of your nail to form the flower.
Step 4 : Apply a dot of clear nail polish at the centre and apply a rhinestone.
Step 5 : If you have short nails, you can stop with this design. Or modify the following steps to the top part of your nails.
Step 6 : Apply clear polish diagonally at the tip of your nail. Quickly, before it dries, sprinkle some glitter on it.

Step 7 : Keep a sheet of paper beneath your nail to pour back the excess glitter back into the container. Using a fan brush, lightly press onto the glitter to set it, and then brush the excess off.
Step 8 : Finish off with a top coat to seal the rhinestone, glitter and your beautiful design. :)
This is a simple design for all those beginners out there and also for people who lack patience ;)
It can me done on long nails and also modified for short nails!!
You don't even need to know any techniques for this cute design!!

PROCEDURE :
Step 1 : Paint a base coat to protect your nails and also to prevent them from staining.
Step 2 : Next apply a base colour of your choice. I suggest apply 2 thin layers instead of one thick gooey layer.
Step 3 : Using a dotting tool, and the colour of your choice for the flower, dot 5 or 6 dots in a circle, at the bottom corner of your nail to form the flower.
Step 4 : Apply a dot of clear nail polish at the centre and apply a rhinestone.
Step 5 : If you have short nails, you can stop with this design. Or modify the following steps to the top part of your nails.
Step 6 : Apply clear polish diagonally at the tip of your nail. Quickly, before it dries, sprinkle some glitter on it.
Step 7 : Keep a sheet of paper beneath your nail to pour back the excess glitter back into the container. Using a fan brush, lightly press onto the glitter to set it, and then brush the excess off.
Step 8 : Finish off with a top coat to seal the rhinestone, glitter and your beautiful design. :)


